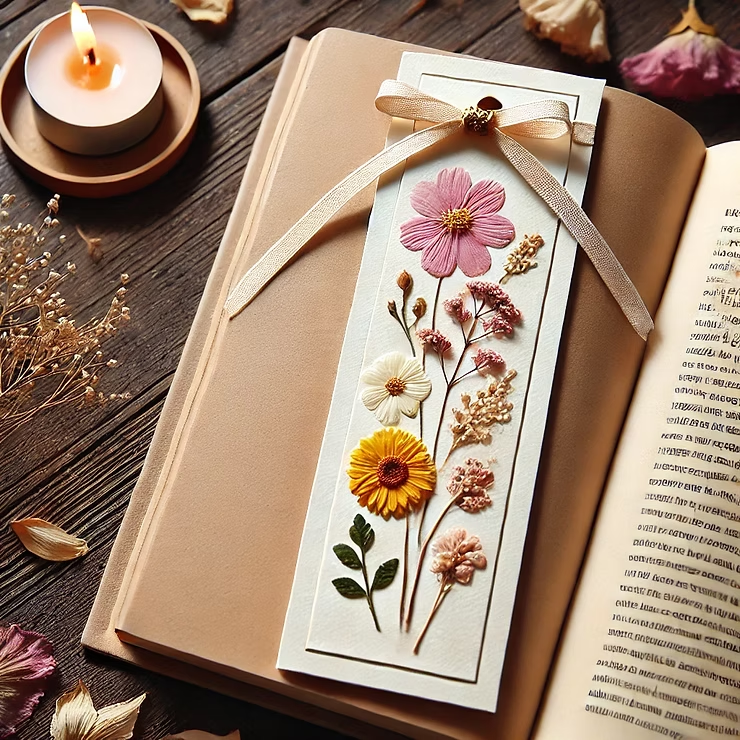
There’s something magical about pressing flowers. Whether it’s preserving memories from a beautiful day outside or giving new life to petals you just couldn’t throw away, pressed flowers bring a sense of nostalgia and beauty to everything they touch. And what better way to display them than by making a bookmark that’s as meaningful as it is functional?
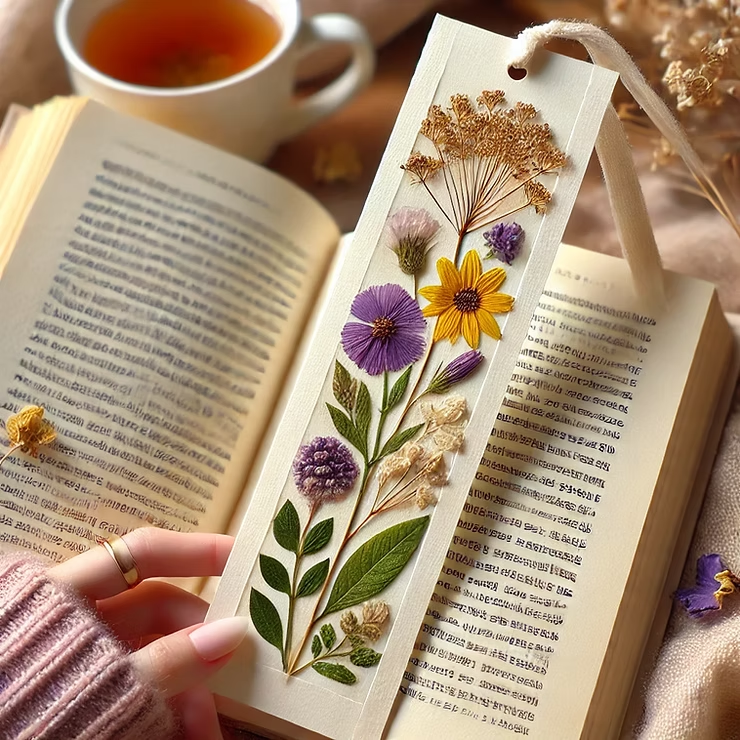
Today, I’m going to walk you through how to make a pressed flower bookmark—a project that’s fun, easy, and perfect for kids and adults alike. Plus, these bookmarks make lovely gifts that feel personal and thoughtful.
Why I Love Pressed Flower Bookmarks
I’ll admit it—I’m a bit of a bookworm. And while I could use a plain scrap of paper to mark my page, it feels special to have a bookmark that’s its own little piece of art. Every time I see the delicate flowers pressed neatly inside, I’m reminded of simple joys, like sunny afternoon walks or backyard adventures with my kids.
What You’ll Need
Gather these materials to get started:
- Fresh or pre-pressed flowers and leaves (flat blooms like pansies, daisies, and ferns work best)
- Wax paper or parchment paper
- Heavy books or a flower press
- Cardstock or sturdy paper (cut into bookmark-size strips)
- Clear contact paper or laminating sheets
- Scissors
- Glue
- Hole punch (optional)
- Ribbon or twine (optional for extra flair)
Step-by-Step Guide: How to Make a Pressed Flower Bookmark
Step 1: Press Your Flowers
If you haven’t pressed your flowers yet, don’t worry—it’s simple!
- Arrange your flowers and leaves between two pieces of wax paper.
- Place them inside a heavy book and stack more books on top for extra weight.
- Let them press for 1-2 weeks until completely dry and flat.
(Pro tip: If you’re in a hurry, you can use a microwave press to speed things up!)
Step 2: Design Your Bookmark
Take your strip of cardstock or sturdy paper and lay out your flowers and leaves. Play around with different arrangements until you’re happy with the design.
- You can create patterns or scatter the flowers randomly for a whimsical look.
- Leave some space at the top if you plan to add a hole punch and ribbon later.
Step 3: Attach the Flowers
Dab a small amount of glue onto the back of each flower or leaf and gently press it onto the cardstock. Be careful—pressed flowers are delicate and can crumble if handled too roughly!
Step 4: Seal the Bookmark
Once your flowers are secured, it’s time to seal everything in place:
- Cut a piece of clear contact paper or laminating sheet slightly larger than your bookmark.
- Carefully place the contact paper over the top and smooth it out to avoid bubbles.
- Trim any excess edges for a clean finish.
Step 5: Add Finishing Touches
If you’re feeling fancy, punch a hole at the top of your bookmark and tie a ribbon or twine for an extra touch of charm.
Why You’ll Love This Craft
- Memorable and Meaningful: Each flower tells a story. Maybe it’s from a family hike or your own garden—every petal holds a memory.
Leave a Reply