


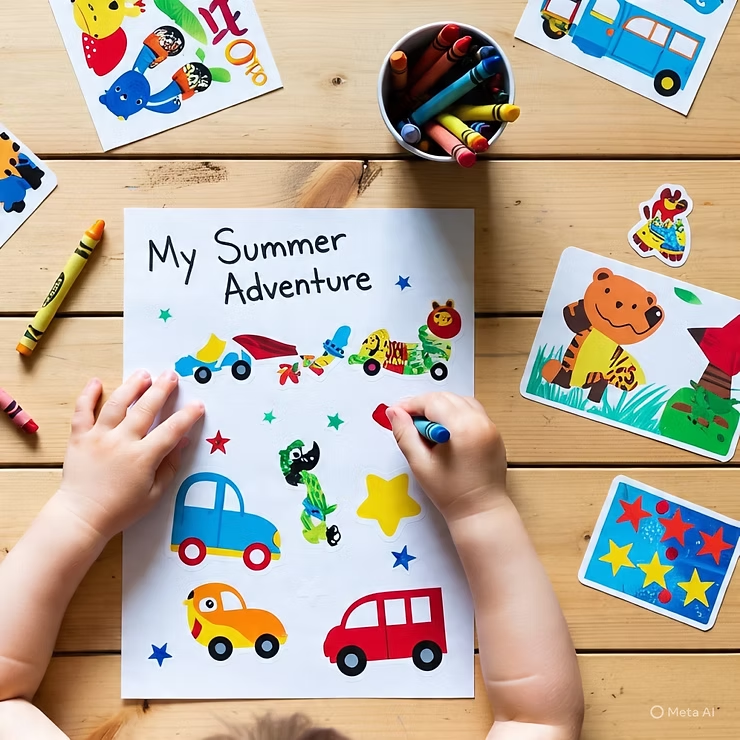
Kids use stickers to create a scene on blank paper, then make up a story to go with it. Bonus: great for writing practice!
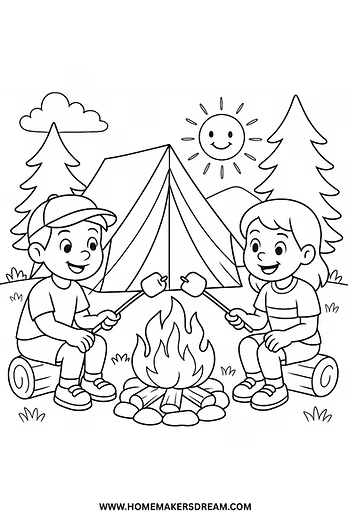
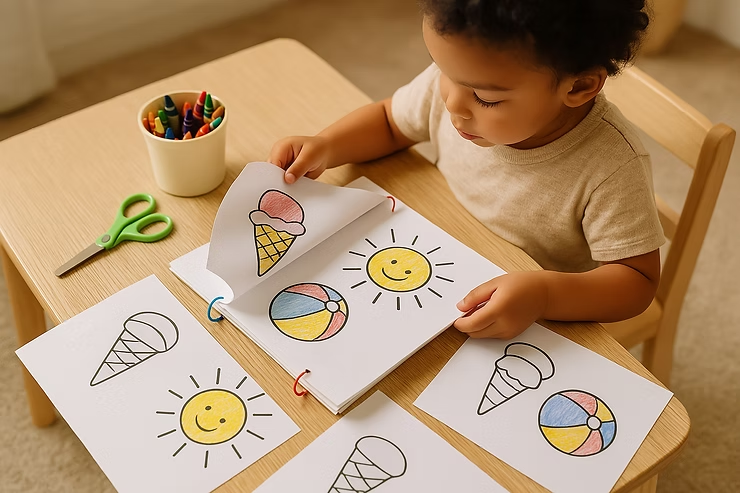
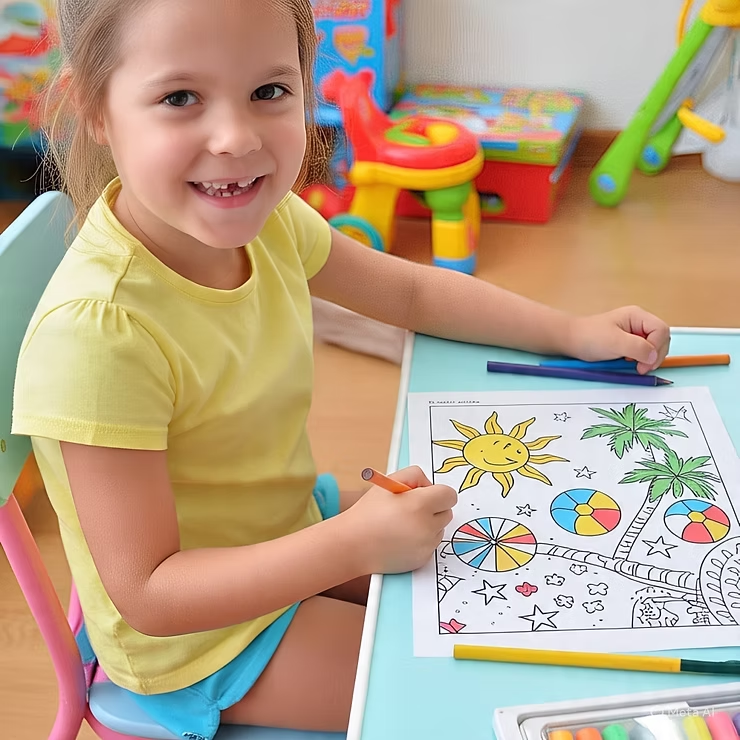
Print out summer-themed coloring pages, bind them with staples or rings, and let kids flip through and color at their own pace.
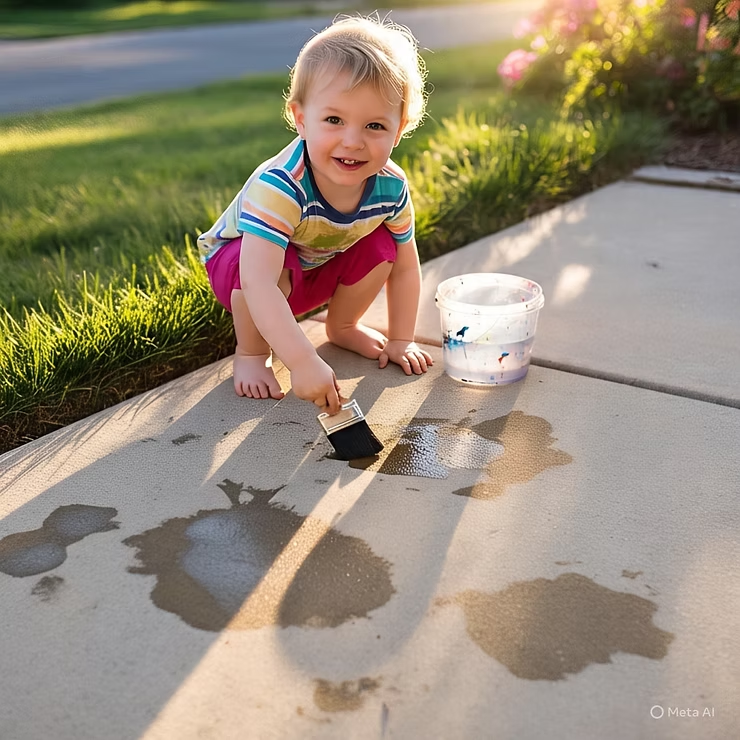
All you need is a bucket of water and a paintbrush—no cleanup, no waste.
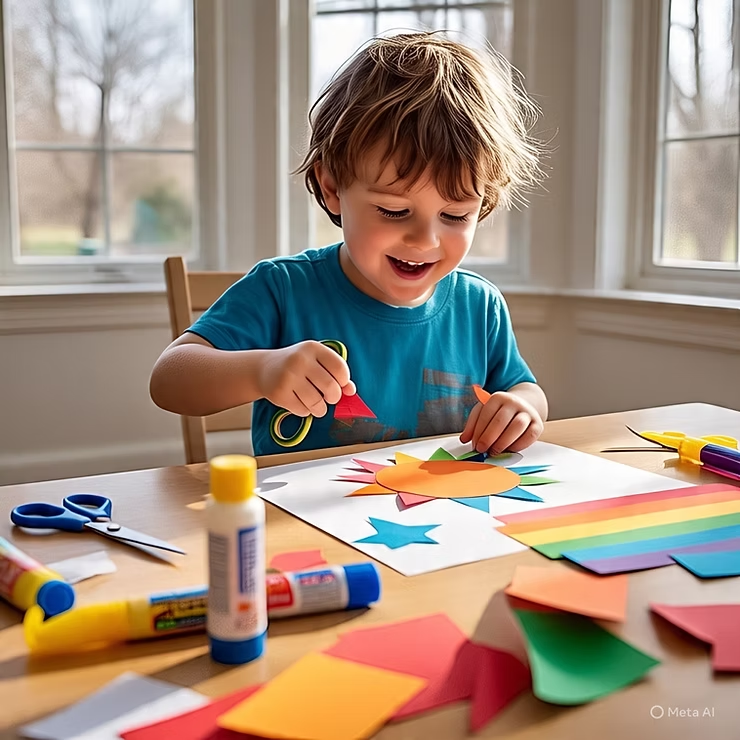
Use pre-cut shapes from construction paper. Kids arrange and glue them to create scenes—minimal mess, maximum fun.
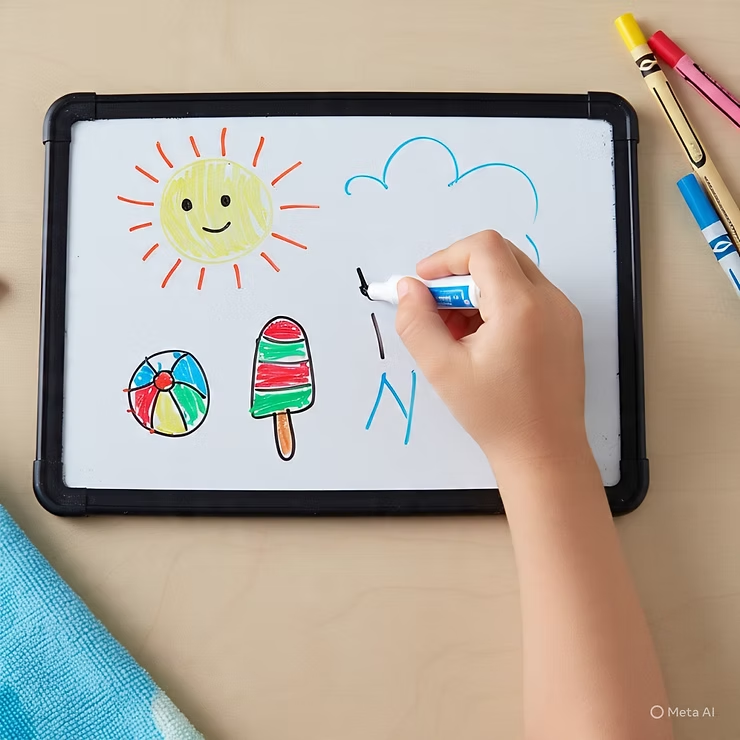
Keep a small whiteboard and markers handy for doodling, drawing games, or practicing letters.
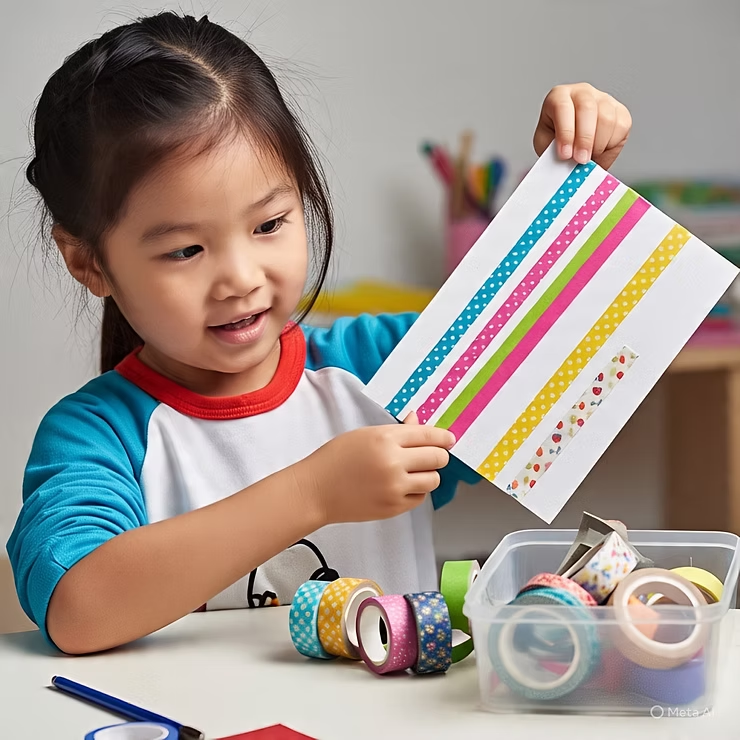
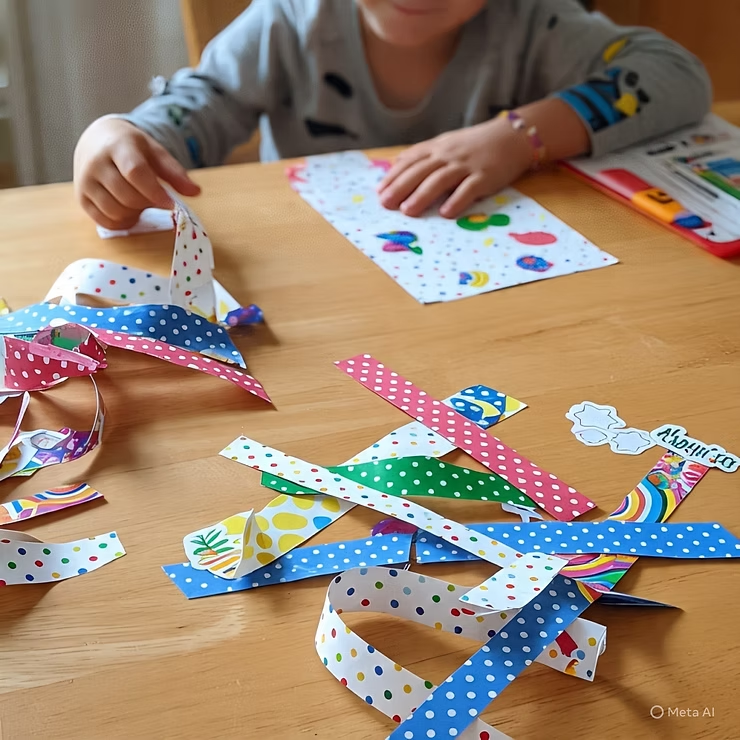
Let kids create patterns or mini works of art using colorful washi tape on cardstock.
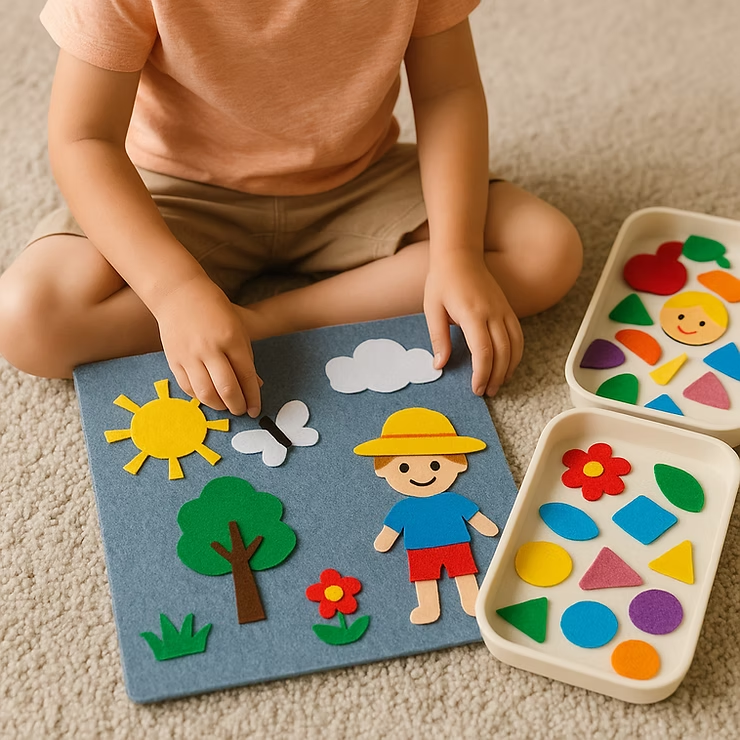
Pre-cut felt shapes stick to felt boards—perfect for reusable storytelling and quiet play.
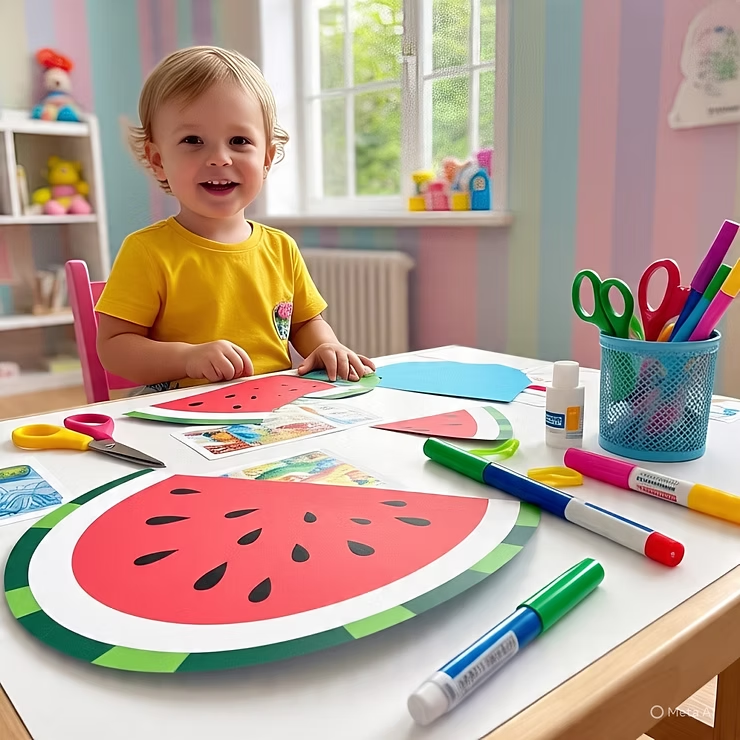
Offer them themed printables that involve cutting and gluing without wet or messy supplies.
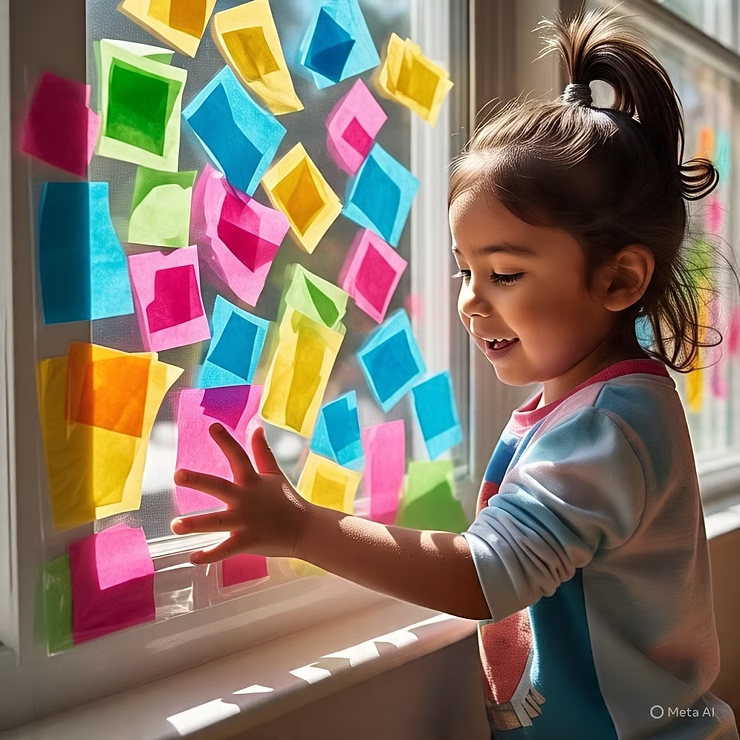
Use contact paper and tissue paper scraps to make vibrant faux suncatchers—no paint involved.
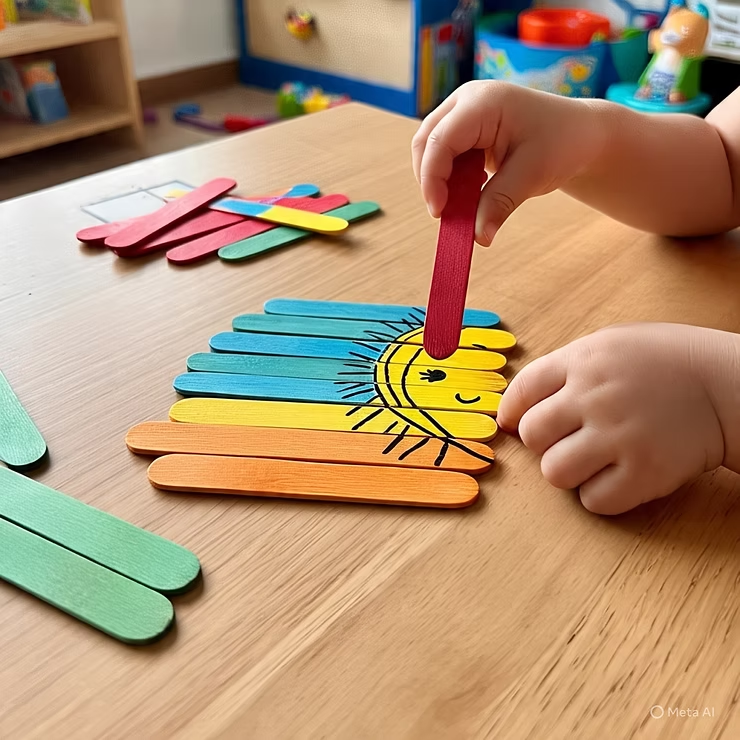
Kids decorate popsicle sticks, then mix them up and solve their own handmade puzzles.
Give your child colored bowls or cups and have them sort pom-poms with tweezers—great for fine motor skills!

Use strips of scrapbook paper and stickers to create wearable summer “jewelry.”
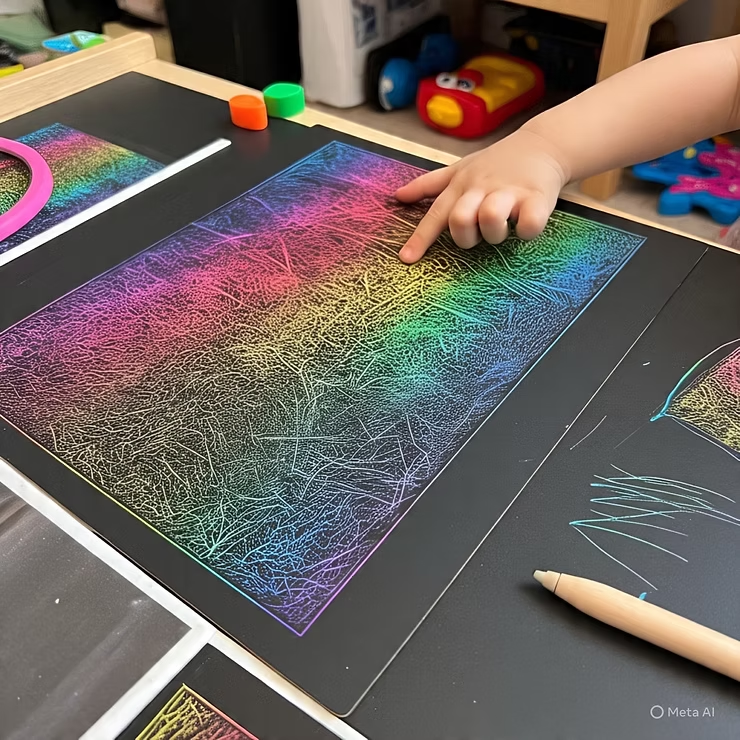
Pre-made kits are low mess and kids love revealing the colors beneath.
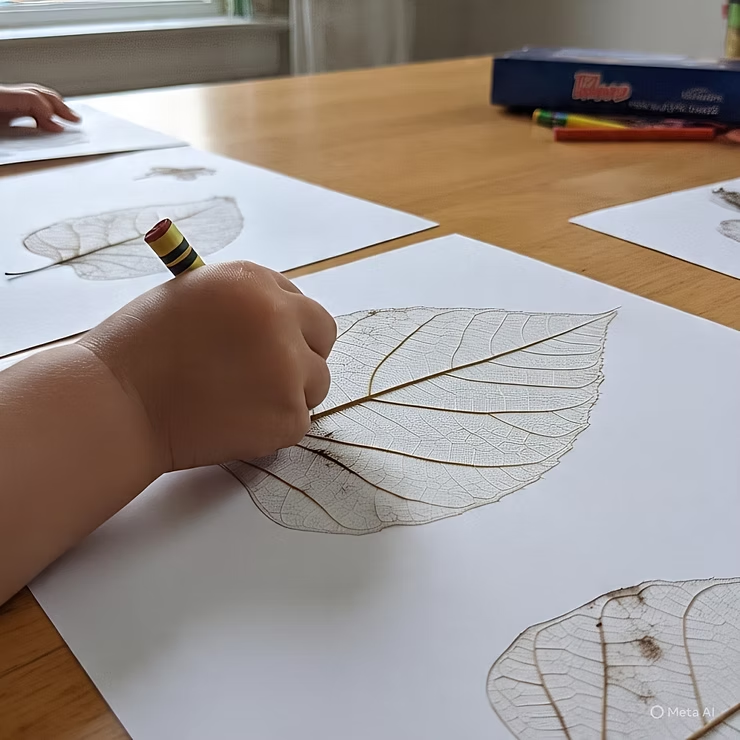
Go outside, collect leaves, and use crayons to make leaf rubbings on paper—no glue needed.
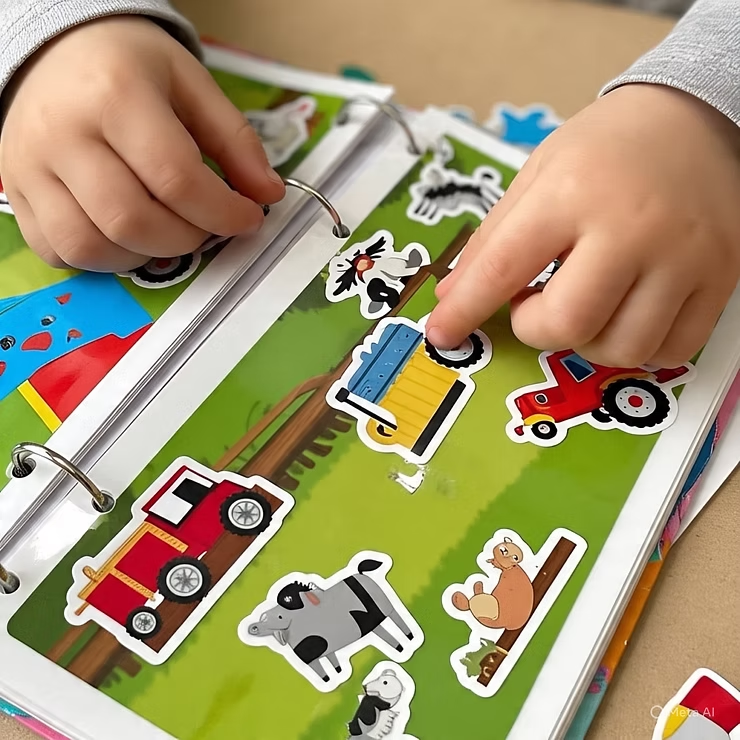
Reusable vinyl sticker scenes = hours of quiet creativity without a single mess.
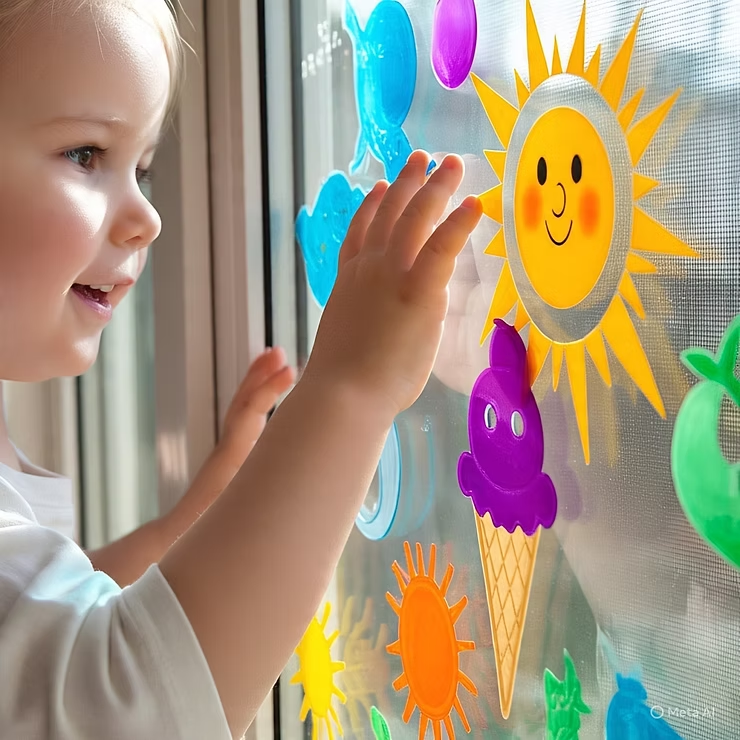
Buy or make window clings kids can move around—great for tactile play.
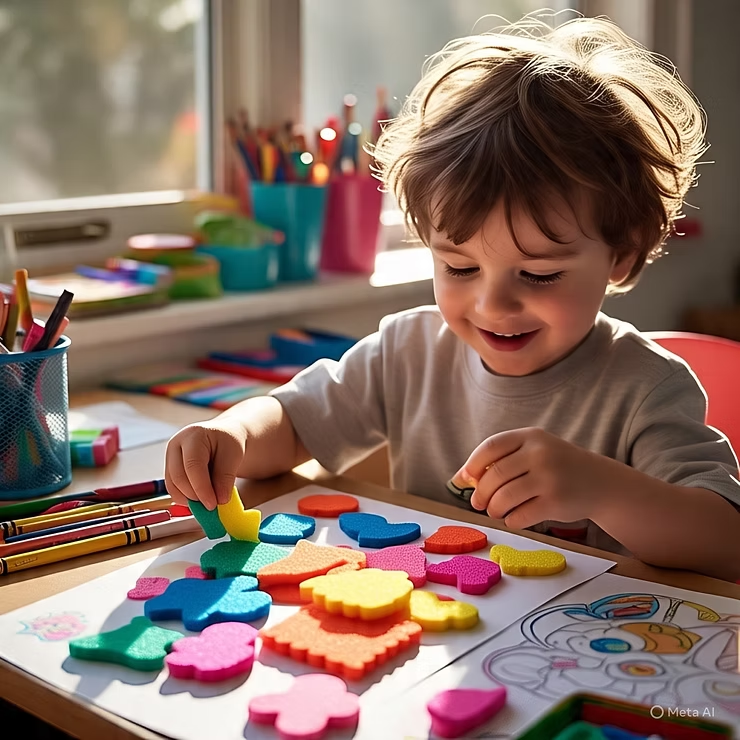
Peel-and-stick foam shapes can be arranged into all sorts of summer scenes.
Laminate themed play dough mats (like ice cream cones) and let kids “decorate” with dough—cleanup stays on the mat.
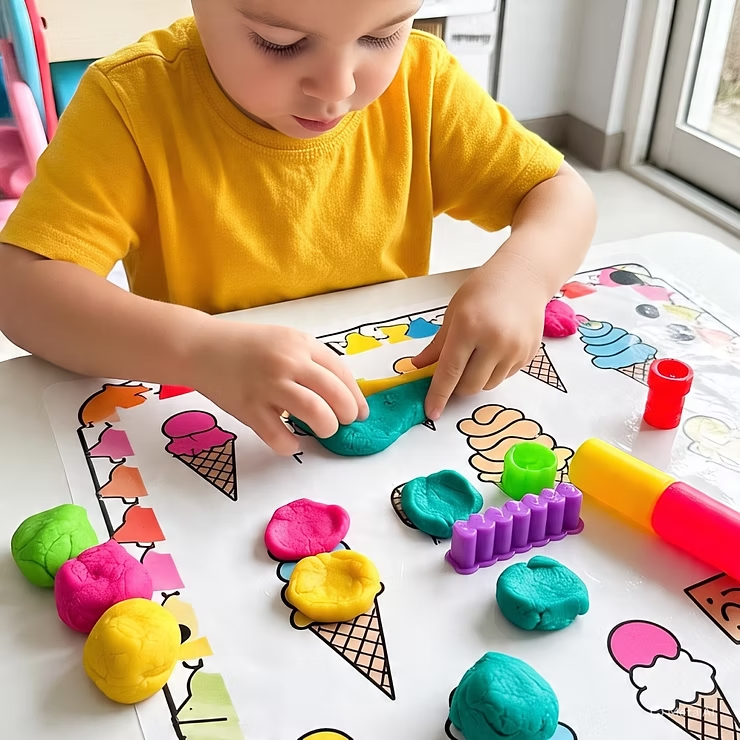
Simple, fun, and no rogue paint to worry about.
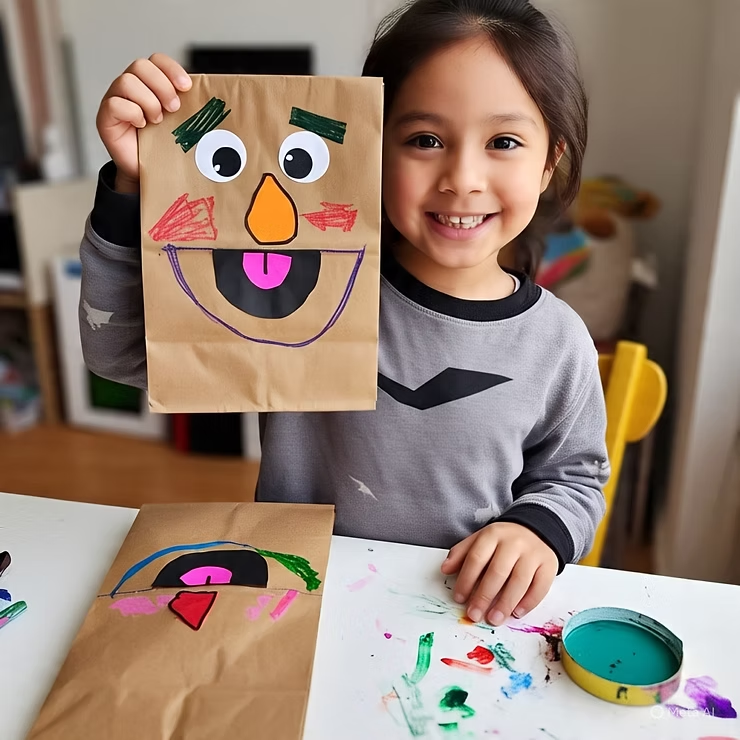
Provide paper bags, stickers, googly eyes, and markers—no glue or scissors required.
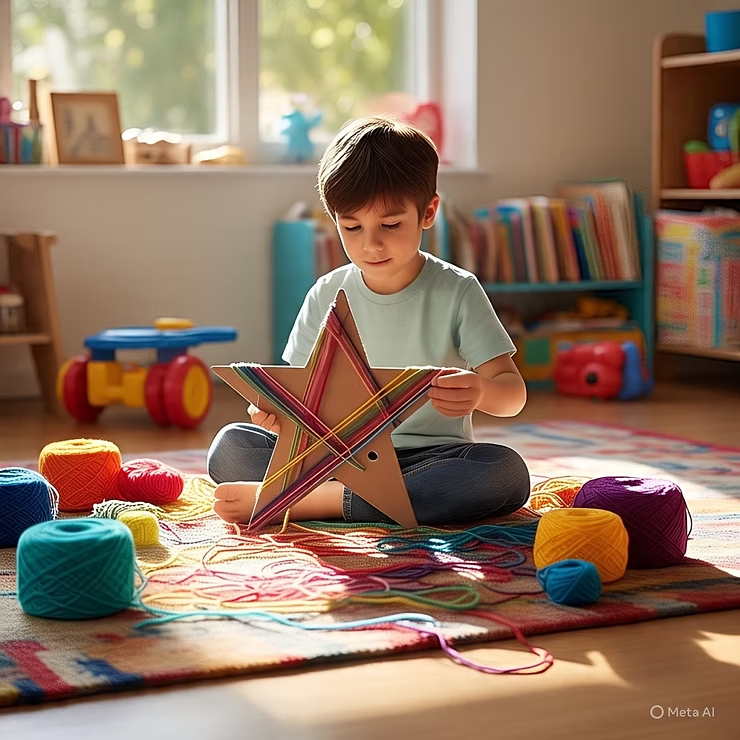
Wrap yarn around cardboard shapes—no knots, no glue, no glitter.
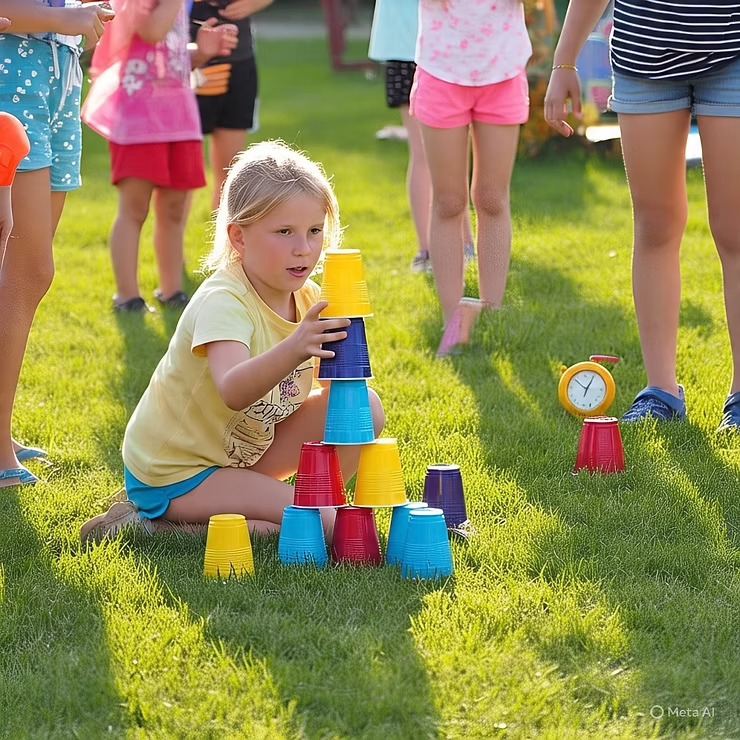
Give kids plastic cups and have them build towers or try balance games—screen-free fun with no materials to clean.
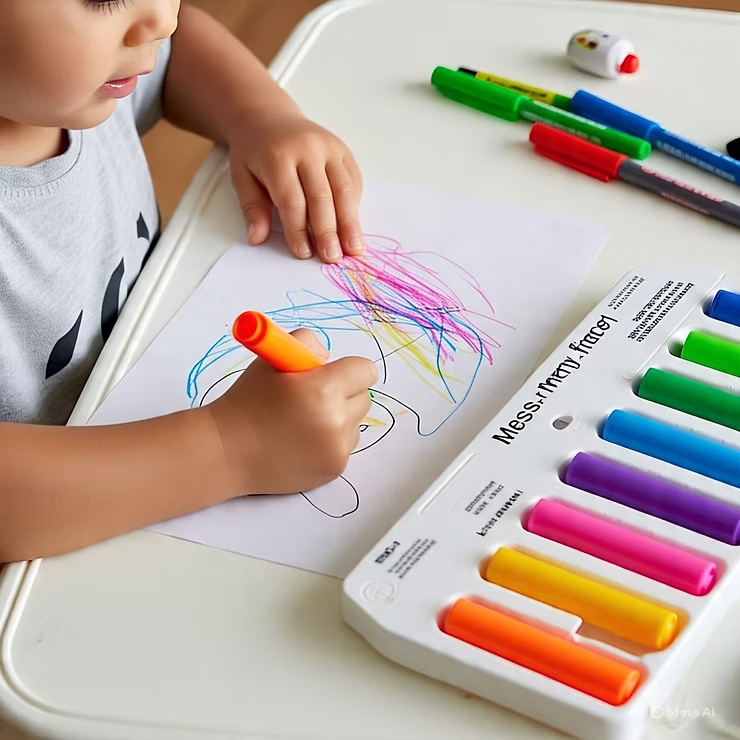
Let kids color with Crayola magic markers—only works on special paper, so zero mess.
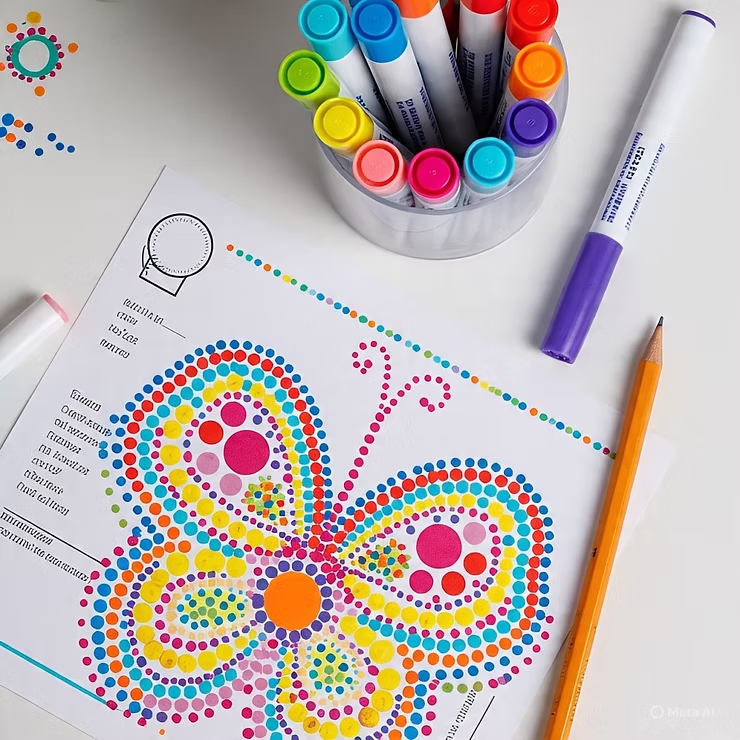
Print dot marker pages and let kids go wild. Easy cleanup and oddly satisfying.’
Staple together a few pages and encourage them to draw or write a little each day—great quiet time tool.

These mess-free summer crafts for kids are perfect for hot afternoons, quiet mornings, or travel days.

Creating a stunning balloon arch might look tricky, but it’s easier than you think! Whether you’re celebrating a birthday, bridal shower, or any special event, a DIY balloon arch will instantly elevate your decor. Let’s walk through each step to make a Pinterest-worthy balloon arch that will have everyone snapping pics.

Start by choosing a color scheme that matches your event. Want a chic, minimalist look? Go for neutrals and metallics. Throwing a kid’s birthday party? Opt for bright, playful colors. Mix in a few foil or confetti-filled balloons for extra pop!
Use a balloon pump to inflate your balloons. Vary the sizes for a more dynamic look. Pro tip: Keep the balloons slightly underinflated to avoid popping. Tie them off securely and set them aside.
Set up your arch frame according to the kit instructions. If you’re using PVC pipes or wire, secure it firmly so it doesn’t wobble. For a freestanding arch, use sandbags or balloon weights to anchor the base.
Using balloon tape or fishing line, start attaching balloons in clusters. Alternate colors and sizes to create dimension. Keep stepping back to see how it looks overall. Fill any gaps with smaller balloons to keep the arch looking full and balanced.
This is where you can get creative. Add greenery, flowers, or tassels for texture. Fairy lights add a magical touch for evening events. For a glam look, incorporate a few metallic balloons.
Carefully move the arch to its final location. Secure it with command hooks or tape as needed. Make any last-minute adjustments to balloon placement and step back to admire your work.
Once your balloon arch is complete, snap some photos for Pinterest! Share your creation, tag us, and inspire others to try their own DIY balloon arches.
Ready to make your party pop? Start crafting and watch your space come to life!
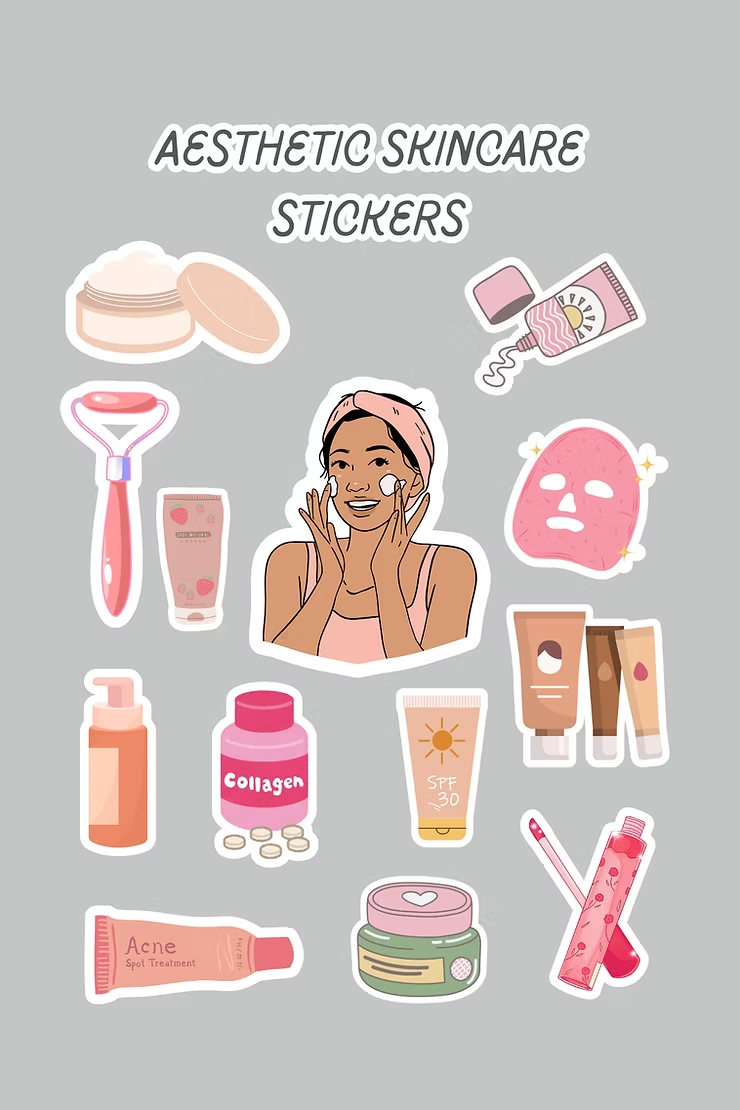

If you are wanting to elevate your scrapbooking pages with a self-care vibe, these printable aesthetic skincare stickers for adult scrapbooking are exactly what you need. Perfect for planners, wellness journals, or your next creative spread, these minimalist yet stylish designs add a touch of beauty to every page.
These printable stickers were designed with adult crafters in mind—think cozy, clean beauty vibes. Whether you’re documenting your skincare routine, planning a self-care day, or decorating your journal, these stickers give your pages a serene, polished aesthetic.
Each design comes in high-resolution PDF format—ready to print on sticker paper or use digitally.
Pro tip: You can even laminate them or print on waterproof paper for longer-lasting stickers.
Ready to start creating? Click the link below to download your printable aesthetic skincare stickers for adult scrapbooking and add a touch of beauty to your next craft session.

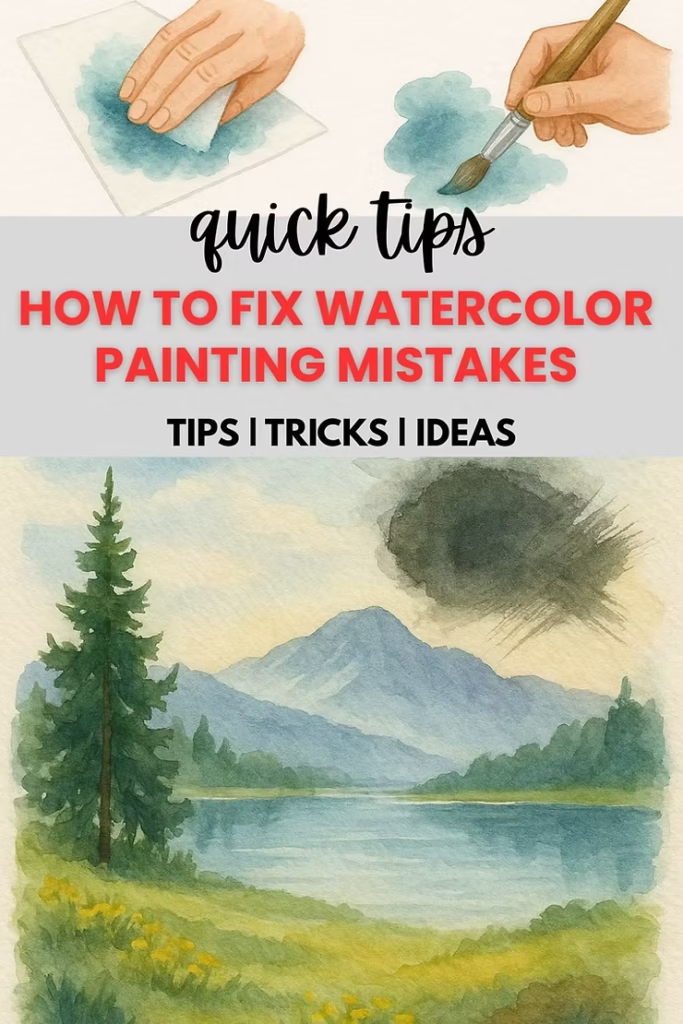
Watercolor is a beautiful, expressive medium—but let’s be honest, it doesn’t always go as planned. If you’ve ever spilled too much water, painted outside the lines, or ended up with a muddy mess, you’re not alone. The good news? Many watercolor mistakes can be fixed or at least softened. Here’s a practical guide on how to fix watercolor painting mistakes without starting over.
If you’ve just made a mistake, act fast. Use a clean paper towel or tissue to gently blot the wet area. Don’t rub—just press. This works well for lifting excess pigment or water from the page.
Dried paint? No problem. Wet your brush with clean water, gently rub the area, and blot with a paper towel. This helps lift and lighten the pigment. It’s especially useful for small mistakes or adding highlights back in.
For tough spots or staining colors, a small piece of Mr. Clean Magic Eraser can help lift pigment from the paper. Gently rub it over the area, and it’ll pull up color without damaging the paper too much. Use with caution and test first!
If a mistake can’t be lifted, try glazing. That means applying a thin, transparent layer of a different color over the top to change the mood or tone. A wrong color can sometimes be corrected by layering the right one over it.
Watercolor is transparent, so once the white of the paper is gone, it’s hard to get it back. But you can cheat a little—use white gouache (an opaque watercolor paint) to cover up small mistakes or bring back highlights.
Got a blotch where you didn’t want one? Add a flower, a leaf, or texture. Watercolor is a loose, forgiving medium when you work with it, not against it. Some of the best “mistakes” turn into unexpected beauty.
Sometimes, the mistake isn’t worth fixing. Watercolor thrives on softness and looseness. What looks like a flaw may actually add character and uniqueness to your painting. Step back and ask yourself—is it really a mistake?
Watercolor mistakes are part of the process—but they don’t have to ruin your work. So next time things don’t go quite right, take a breath, grab your brush, and give one of these techniques a try.
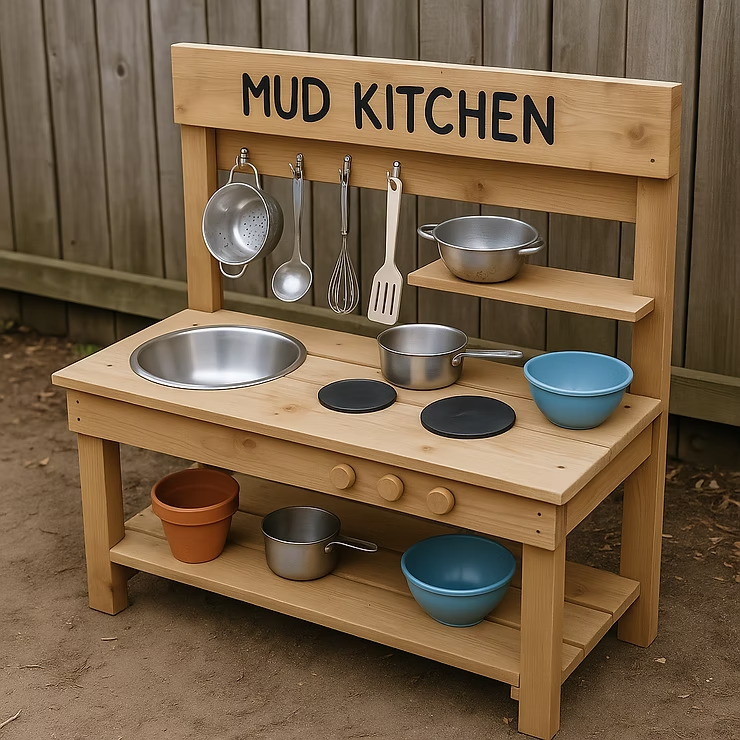
If you’re looking for a fun, screen-free activity that sparks creativity and gets your kids outdoors, a mud kitchen might be just what your backyard needs. Here are 7 reasons why this DIY favorite is worth the (minimal) mess!
Wether baking mud pies or pretending to cook dinner for stuffed animals, the mud kitchen has countless oportunities for pretend play. Watch your kids become chefs, bakers, and scientists all in one messy spot!
Sometimes the hardest part is getting them out the door. A mud kitchen is an irresistible outdoor magnet that makes getting out of the house a part of their routine.
Squishing, scooping, pouring, and stirring are all examples of sensory exploration. The textures, temperatures, and even smells of outdoor play help develop your child’s sensory processing.
All you need is some wooden planks, a couple of metal bowls or pots, and a few plastic bins for water or dirt. Add old kitchen utensils and let the creativity explode.
My toddler uses it to explore textures while a five-year-old might run a full pretend restaurant.
Kids practice pouring, measuring, mixing, and cleaning — all useful life skills, that will really take them far, disguised as play.
You can DIY a mud kitchen with upcycled items from around the house or find affordable options online. Want a head start? Check out my favorite mud kitchen picks on Amazon here.
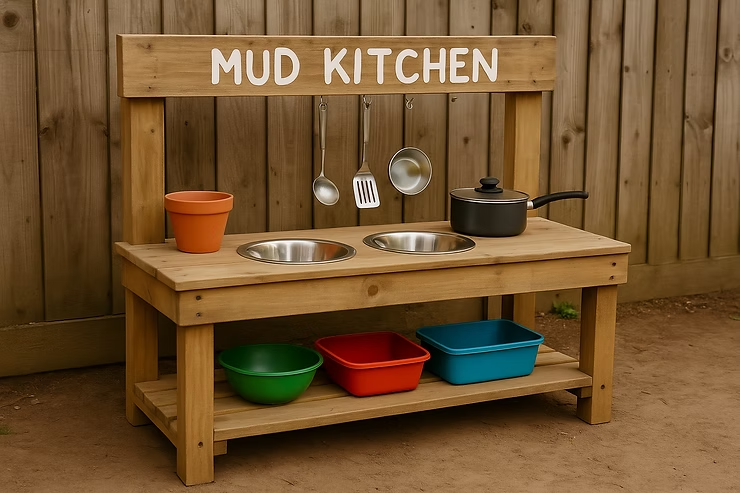
This setup includes:
Perfect for little hands to get creative!
Affiliate Disclosure: This post may contain affiliate links. As an Amazon Associate, I earn from qualifying purchases at no extra cost to you.
Counting the Omer can be a powerful and educational part of each evening for your kids—but it’s easy to forget or lose track of the days. Here’s a simple counting the Omer craft idea to give your kids a hands-on visual to follow along with each night.
It’s preschool-friendly, lightweight enough to hang up or move around the house, and easy to personalize with your child’s name or favorite colors.
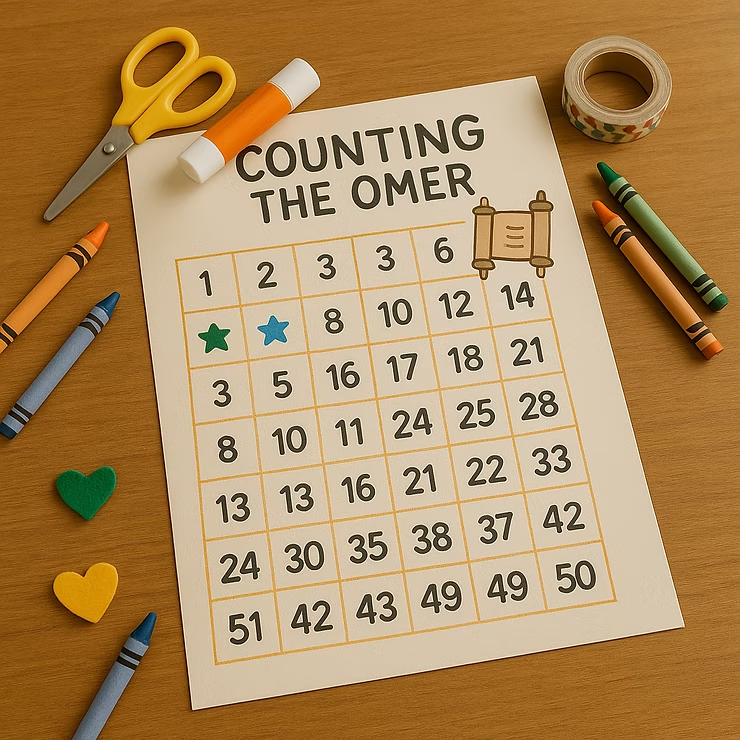
1. Set up your board: Create a 7×7 grid—one row for each week of the Omer. You can draw the lines with a ruler or use strips of washi tape to divide the sections.
2. Label each square: Inside each box, write or place a number from 1 to 49. You can also color-code the weeks if you’d like (ex: Week 1 = blue, Week 2 = green, etc.).
3. Decorate together: Let your child decorate the board with markers, stickers, or a theme that’s meaningful—like hearts, stars or mitzvah symbols.
4. Add your counting elements:
You can use:
Every night after counting the Omer, your child adds a sticker or item to mark the day. This makes the mitzvah feel exciting and builds anticipation as Shavuos gets closer.
Tip: Keep the board in a central spot, like the fridge or your child’s bedroom wall, with a pen or stickers ready so it’s easy to remember.
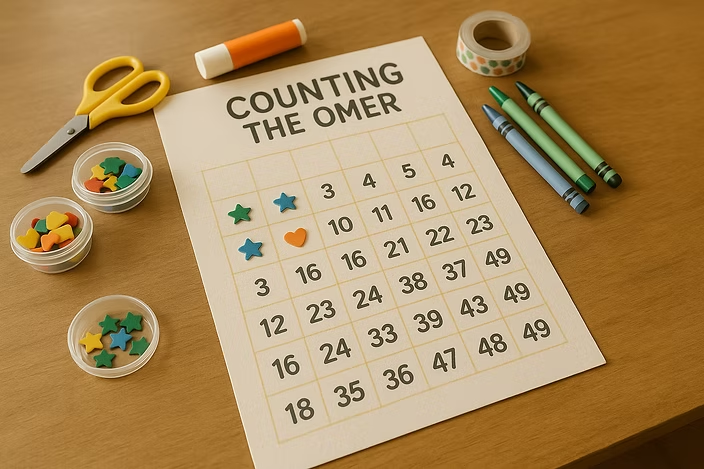
This counting the Omer craft idea is perfect for preschoolers, homeschoolers, or just as a nightly family tradition. It’s simple, fun, and meaningful—just the way crafts should be.
Parshas Ki Sisa is packed with big moments—the half-shekel donation, the golden calf, and Moshe receiving the Luchos on Har Sinai. There’s so much to teach, and the best way for kids to connect to the Parsha is through hands-on activities!
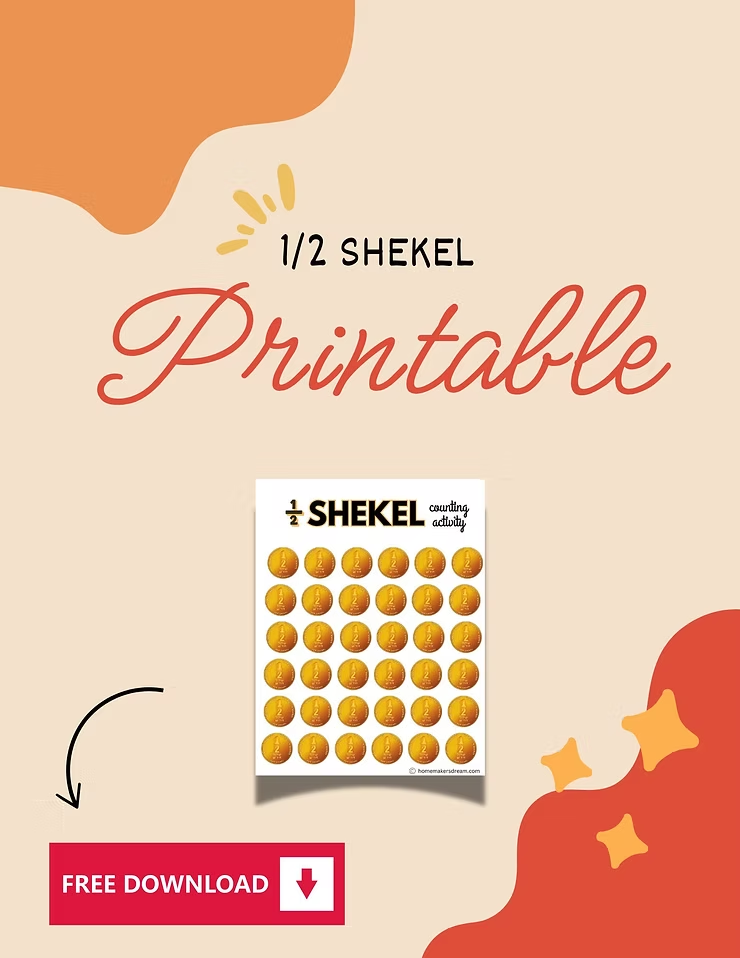
That’s why I’m sharing a fun and interactive FREE ½ Shekel printable—perfect for math games, counting activities, and creative crafts. Download it below and use it in your classroom, home, or Shabbos table learning!
Hashem commanded every Jew to give a half-shekel coin to contribute to the Mishkan. Unlike other donations, everyone gave the same amount—rich or poor.
💡 Lesson for Kids: Every Jew is equally important, and we all contribute to the bigger picture of Klal Yisrael!
Now, let’s bring this mitzvah to life with engaging Parshas Ki Sisa activities!
💡 Teaches: Counting, grouping, and simple addition!
📌 Extra Idea: Hide the coins around the room for a Half-Shekel Hunt!
💡 Teaches: The mitzvah of tzedakah in a meaningful, hands-on way.
💡 Teaches: Fine motor skills & hands-on creativity.
📌 Extra Idea: Add a pasuk from the Parsha to make it even more meaningful!
This fun, easy-to-use printable makes learning about Parshas Ki Sisa exciting and interactive. Whether you use it for math games, storytelling, tzedakah lessons, or craft projects, it’s a great way to engage kids with the Parsha.
Click below to download your FREE ½ Shekel printable and bring Parshas Ki Sisa to life!
How will you use your ½ Shekel printable this week? Let me know in the comments! 😊
Parshas Tetzaveh is filled with beautiful details about the bigdei kehuna (the Kohen Gadol’s special clothing), including the Choshen Mishpat—a magnificent breastplate decorated with 12 precious stones, each representing one of the Shevatim of Bnei Yisrael.
This hands-on Parshas Tetzaveh craft is a great way for kids to connect to the Parsha while creating their own Choshen necklace to wear!
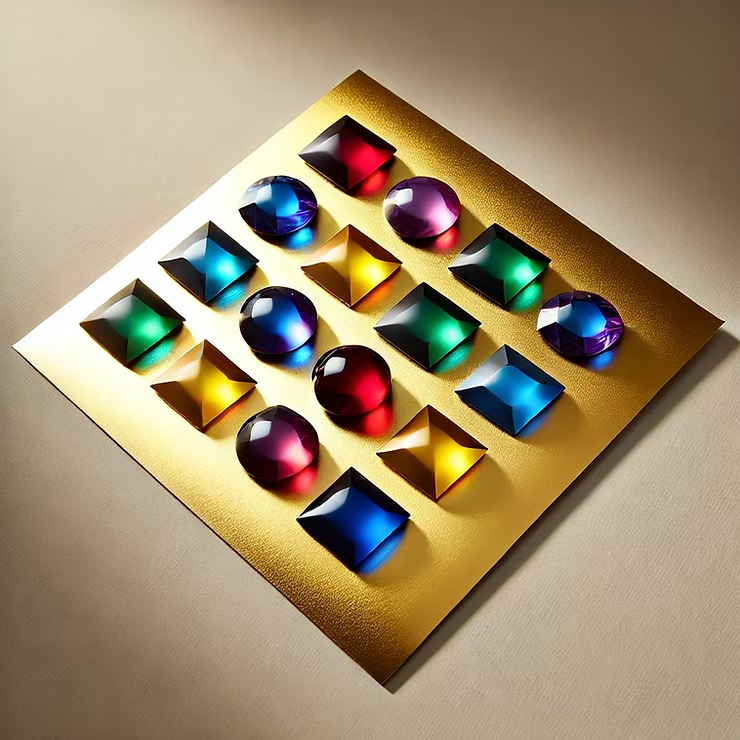
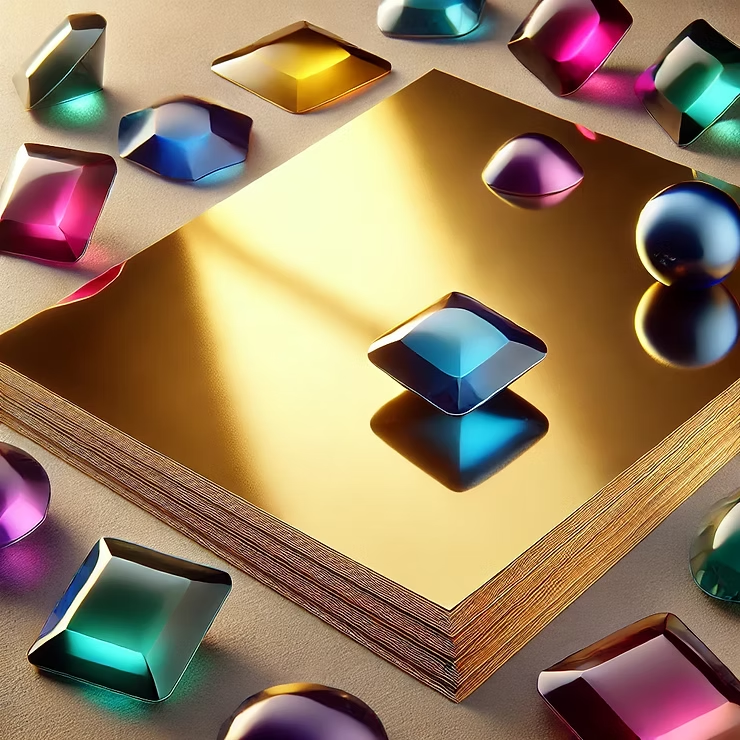
💡 Did You Know? The Choshen was woven from gold, techeiles (blue), argaman (purple), tolaas shani (red), and fine linen—a sign of its importance!
💎 Each stone represented one of the 12 Shevatim! Some examples include:
💡 Extra Challenge: Look up the names of all 12 stones and try to match the colors!
💡 Think About It: The Urim V’Tumim inside the Choshen helped the Kohen Gadol get messages from Hashem!
👑 Every Shevet had a unique mission, but together they made up Klal Yisrael.
💖 The Kohen Gadol wore the Choshen over his heart, reminding him to care for all of Bnei Yisrael.
✨ Hashem’s presence guided the Jewish people through the Urim V’Tumim.
This Parshas Tetzaveh craft is not only fun to make—it’s also a meaningful way for kids to learn about the Choshen Mishpat!
Looking for more creative crafts for this Parsha?
Try these ideas:
🌟 Menorah Glow Art – Use glow-in-the-dark chalk to create a stunning Menorah picture!
👕 Kohen Gadol Paper Doll – Make a paper doll dressed in the bigdei kehuna!
🫒 Olive Oil Sensory Bottle – Create a bottle that shows how pure oil stays separate!
Which Parshas Tetzaveh craft will you try first? Let me know in the comments! 😊
This post may contain affiliate links. If you purchase through these links, I may earn a small commission at no extra cost to you. I only recommend products I genuinely love and believe will be helpful for your projects. Thank you for supporting this blog!
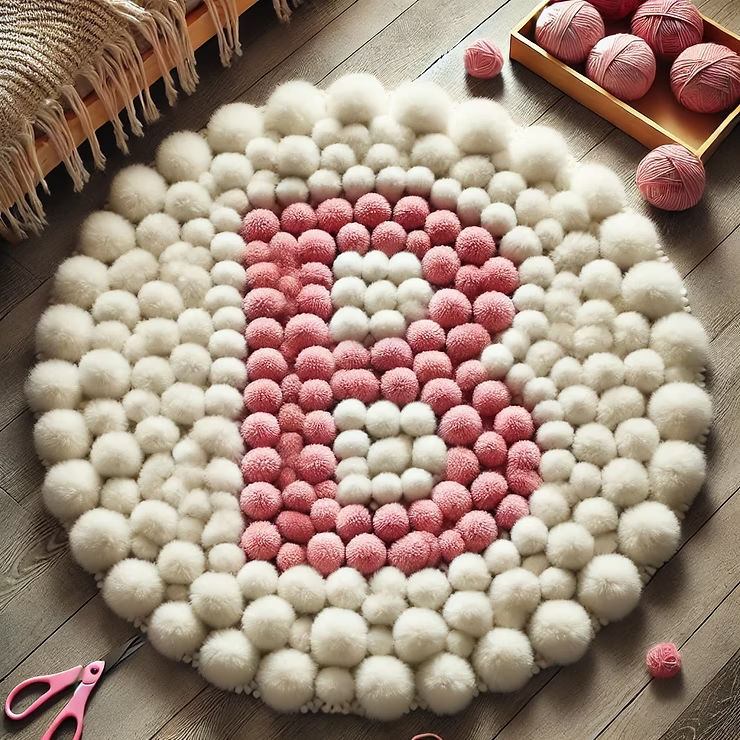
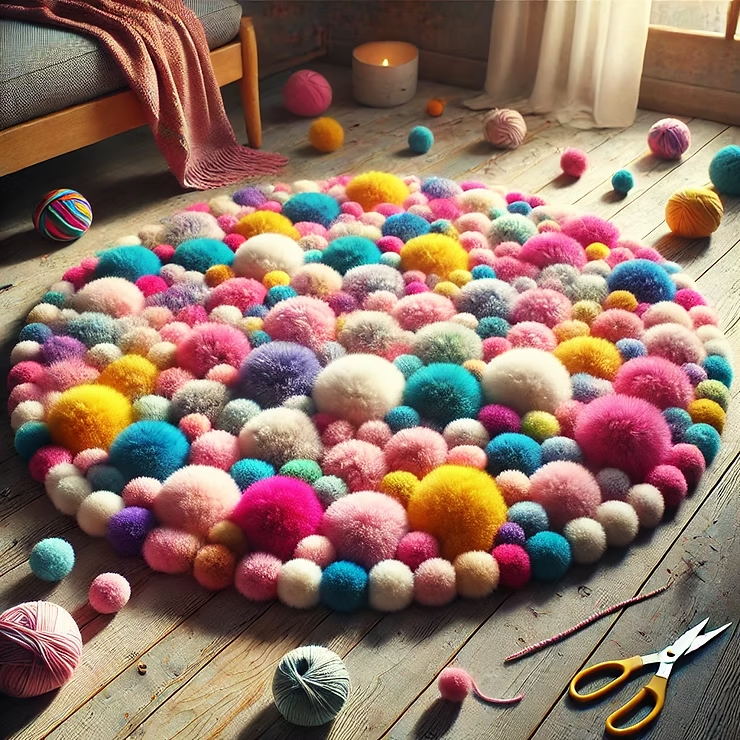
Do you love soft and cozy rugs? Want to make one yourself? A pom pom rug is a fun and easy craft that adds a pop of color to any room. You can make it in your favorite colors, and it feels amazing under your feet!
This guide will show you how to make a pom pom rug step by step. It’s a great project for kids, teens, or anyone who loves DIY crafts.
Before we start, gather these supplies:
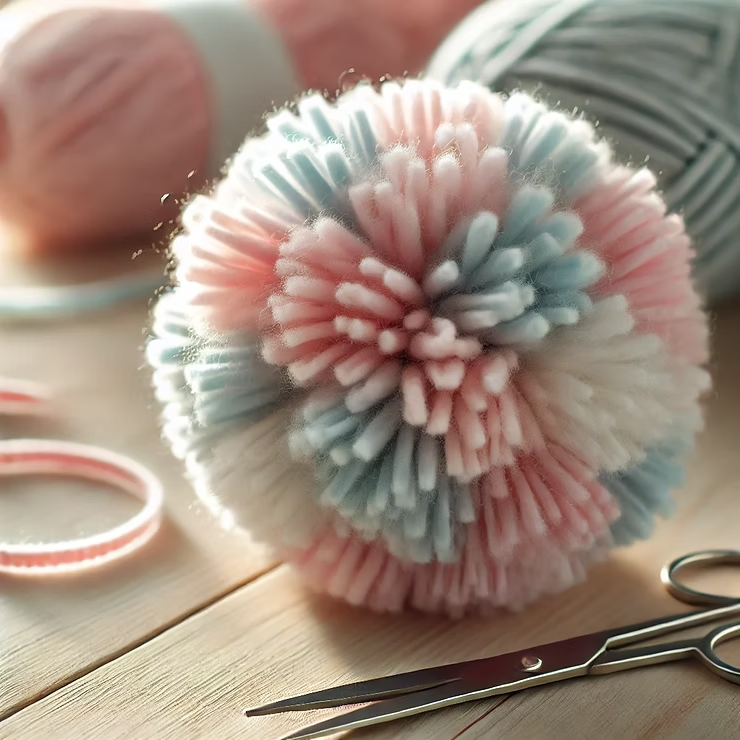
Pom poms are the soft, fluffy balls that will make up your rug.
How to make a pom pom with a pom pom maker:
No pom pom maker? No problem! Try the fork method:
Repeat this step until you have at least 30-50 pom poms (or more, depending on how big your rug is).
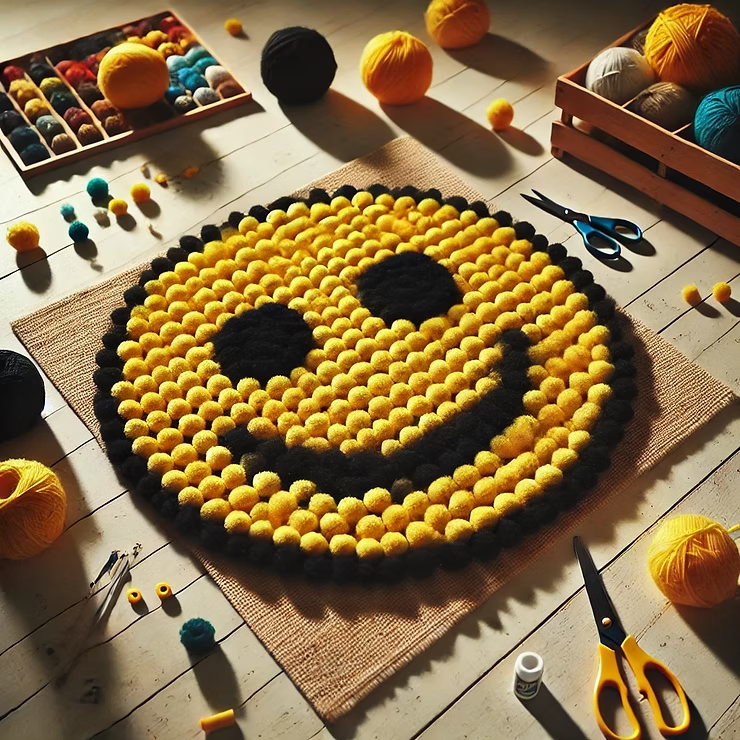
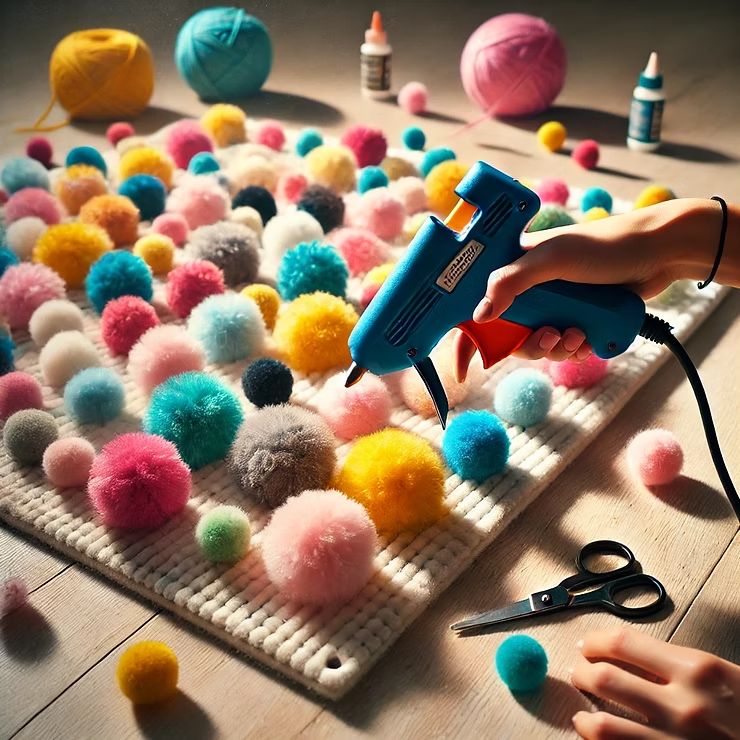
There are two ways to attach the pom poms:
1. Tie them on (Best for long-lasting rugs)
2. Glue them on (Faster but not as strong)
Use thick yarn for fluffier pom poms.
Make extra pom poms so your rug looks full and soft.
Put the rug in a low-traffic area (like a bedroom) so it lasts longer.
Spot clean only – Don’t put it in the washing machine!
Q: How long does it take to make a pom pom rug?
A: It depends on the size! A small rug can take a few hours, while a big one might take a weekend.
Q: Can I make this without a rug base?
A: Yes! You can use a piece of felt or fabric and glue the pom poms on instead.
Q: What’s the best yarn for pom pom rugs?
A: Acrylic or wool yarn works best because it’s soft and fluffy. Avoid thin yarns that don’t hold their shape.
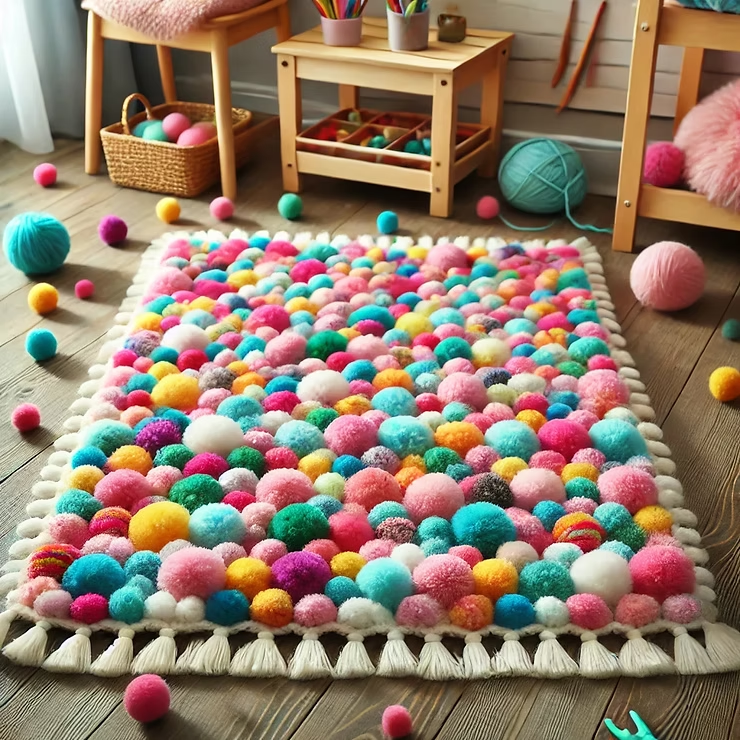
Making a pom pom rug is a fun and creative way to decorate your room. You can make it big or small, colorful or simple, and it’s a great craft for kids and adults alike!
If you enjoyed this tutorial, share it with a friend or save it for later! Happy crafting!