Color sorting is a fantastic way to introduce toddlers to the basics of colors while also developing their fine motor skills and problem-solving abilities. With a little creativity, you can turn everyday items into exciting activities that keep your little ones entertained and learning. Here are some easy-to-set-up and engaging color sorting ideas for toddlers that your child will love!
1. Rainbow Pom-Pom Sort
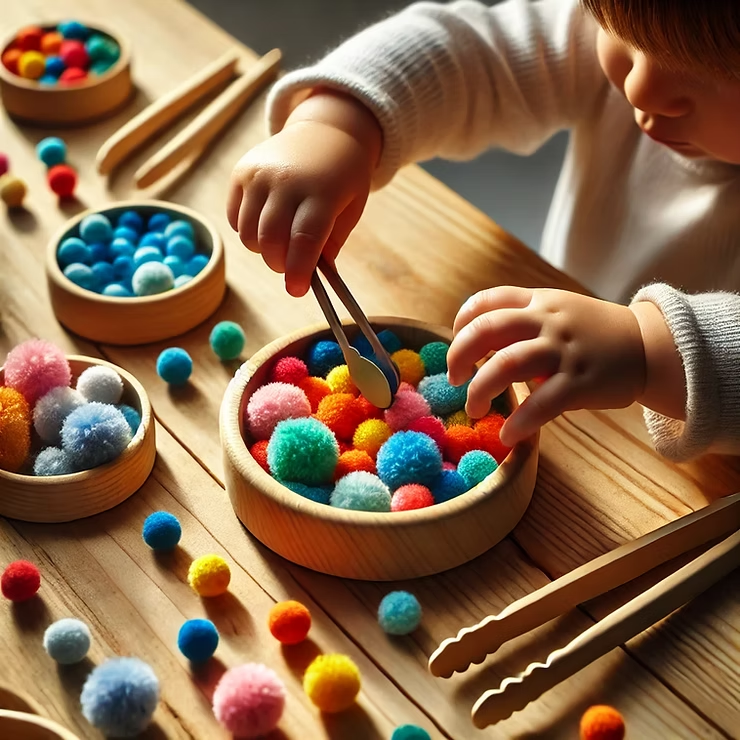
What You’ll Need:
- Assorted colorful pom-poms
- Small bowls or cups in matching colors
- Tongs or a small spoon (optional, for extra motor skill practice)
How to Play:
- Place the bowls on a table and scatter the pom-poms nearby.
- Encourage your toddler to sort the pom-poms into the matching bowls.
- For an added challenge, use tongs or a spoon to pick up the pom-poms.
Why It’s Great: This activity is vibrant, tactile, and perfect for practicing color recognition and hand-eye coordination.
2. Button Match-Up

What You’ll Need:
- Large, colorful buttons
- A piece of cardboard or felt with matching colored circles drawn or glued onto it
How to Play:
- Lay out the buttons and the cardboard with the colored circles.
- Show your toddler how to match the buttons to the correct colors on the board.
Why It’s Great: It’s a compact activity that’s easy to take on the go and helps with matching and sorting skills.
3. LEGO Color Tower
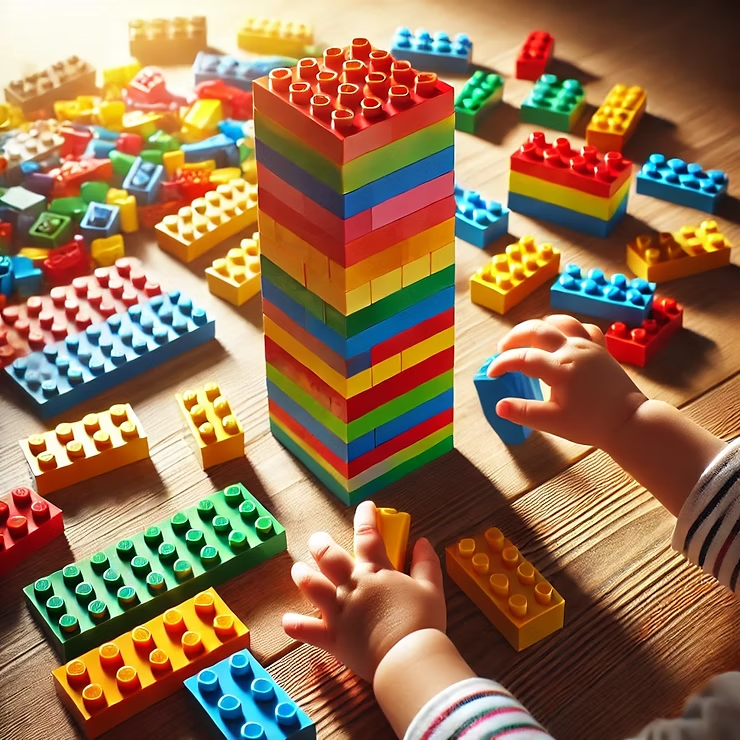
What You’ll Need:
- LEGO blocks or any other stackable blocks in various colors
How to Play:
- Ask your toddler to build towers using blocks of the same color.
- Name the colors as they work to reinforce their recognition skills.
Why It’s Great: It combines sorting with construction, making it a hit for toddlers who love to build.
4. Snack Sorting Fun
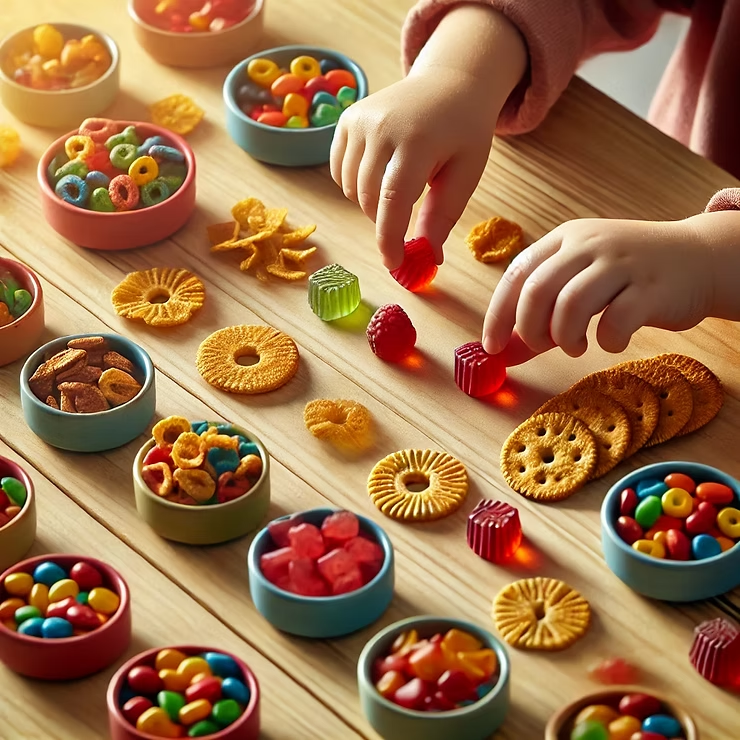
What You’ll Need:
- Colorful snacks like cereal pieces, candy-coated chocolates, or fruit slices
- Small bowls or plates
How to Play:
- Place the snacks in one bowl and set out empty bowls for each color.
- Ask your toddler to sort the snacks by color before enjoying them.
Why It’s Great: It’s a delicious way to practice sorting, and the snack reward is an added bonus!
5. Ball Pit Color Sort
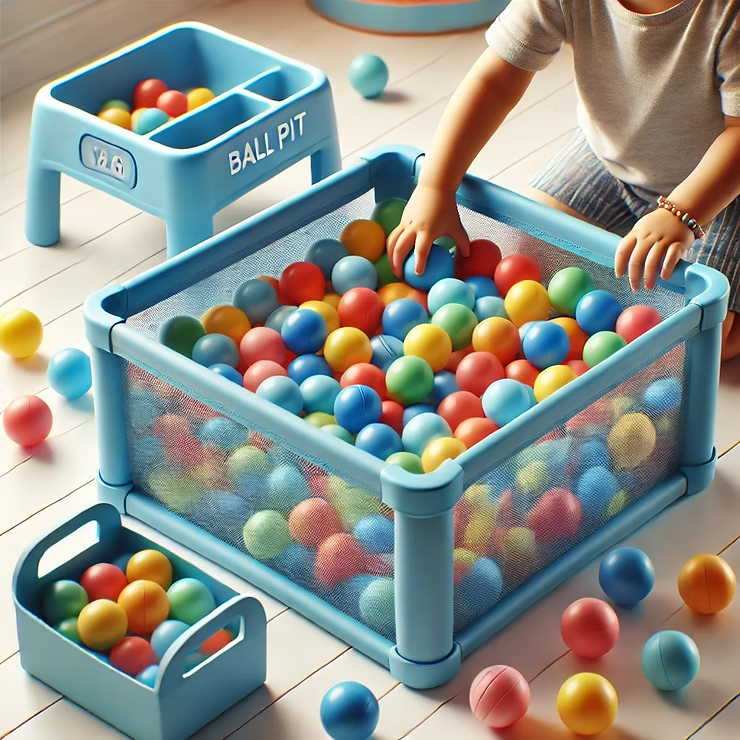
What You’ll Need:
- Plastic balls in various colors
- Matching colored bins or laundry baskets
How to Play:
- Fill a ball pit or a large container with the plastic balls.
- Encourage your toddler to sort the balls into the matching bins.
Why It’s Great: It’s active, fun, and perfect for toddlers who love to move while learning.
6. Nature Color Hunt
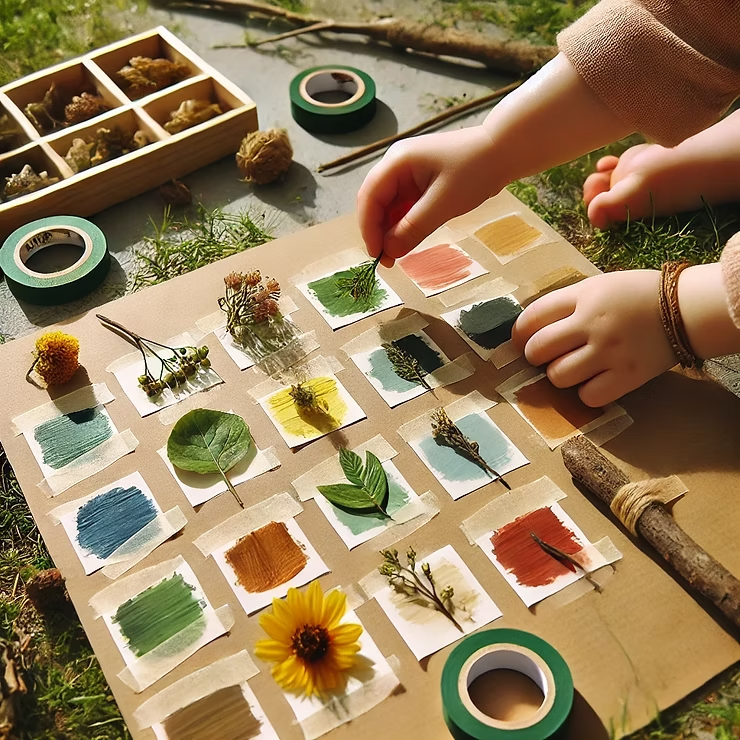
What You’ll Need:
- A piece of cardboard with color swatches painted or taped onto it
- A safe outdoor area
How to Play:
- Take your toddler outside and ask them to find objects (leaves, flowers, rocks) that match each color swatch.
- Attach the objects to the cardboard with tape or glue.
Why It’s Great: This activity combines nature exploration with color recognition, making it both educational and adventurous.
7. Water Bead Sorting
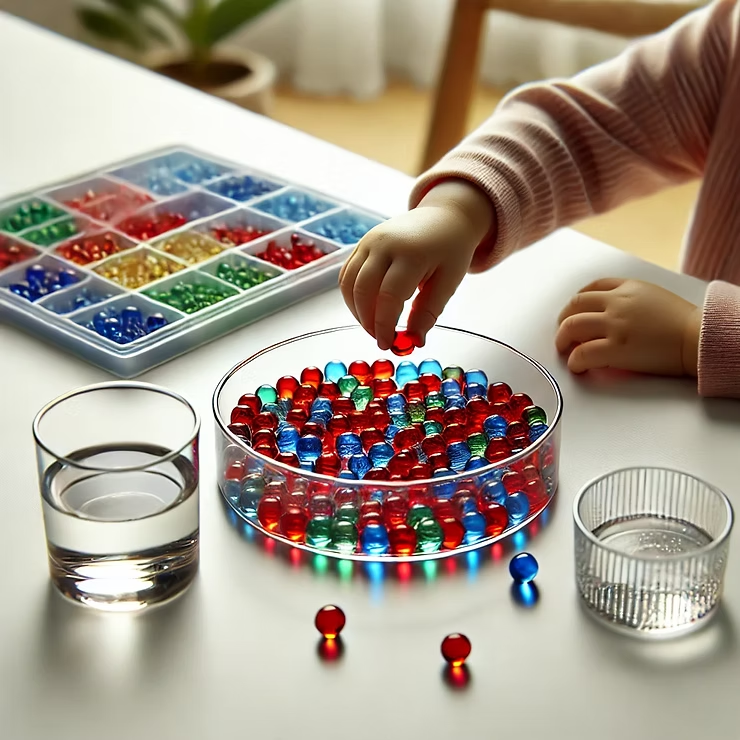
What You’ll Need:
- Colored water beads
- Clear cups or bowls
How to Play:
- Soak the water beads according to the instructions until they are fully hydrated.
- Ask your toddler to sort them into cups based on their colors.
Why It’s Great: The squishy texture of water beads adds a sensory element that toddlers adore.
Tips for Success
- Keep It Simple: Use items you already have at home to create these activities.
- Supervise Closely: Always monitor your toddler, especially if small items are involved.
- Make It Fun: Celebrate every success to keep your little one motivated.
In Conclusion
Color sorting is a fun and educational activity that toddlers enjoy while learning important developmental skills. With these color sorting ideas for toddlers, you can turn everyday moments into colorful learning opportunities.
Which idea will you try first? Share your toddler’s favorite color sorting activities in the comments!